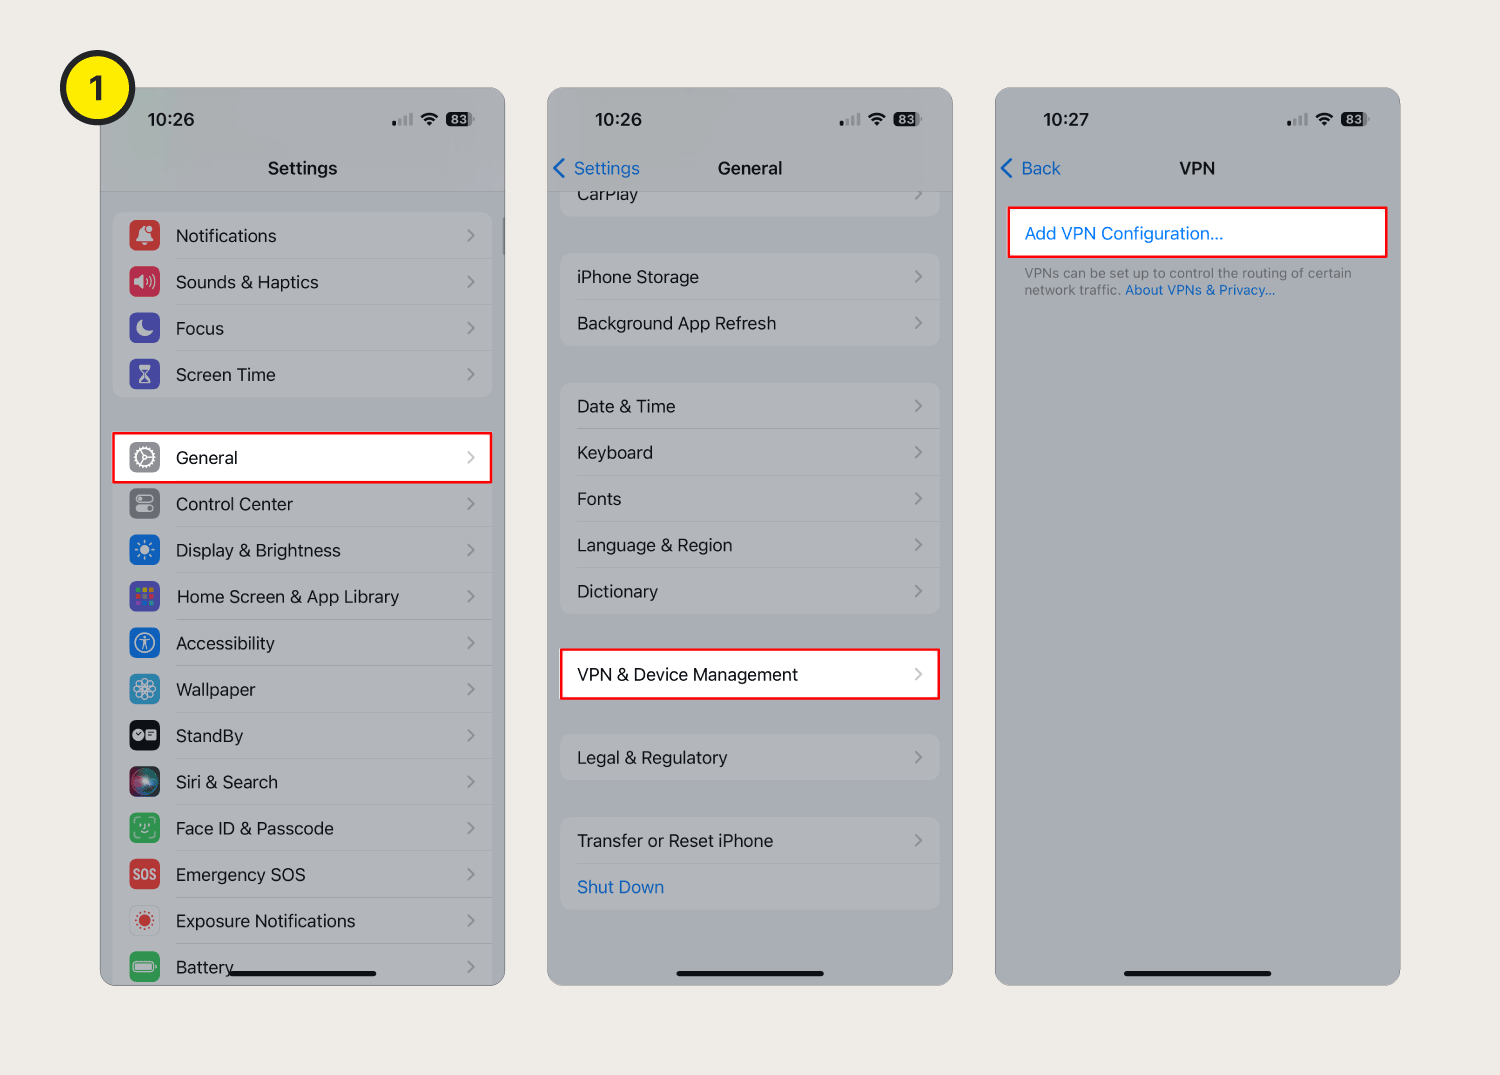
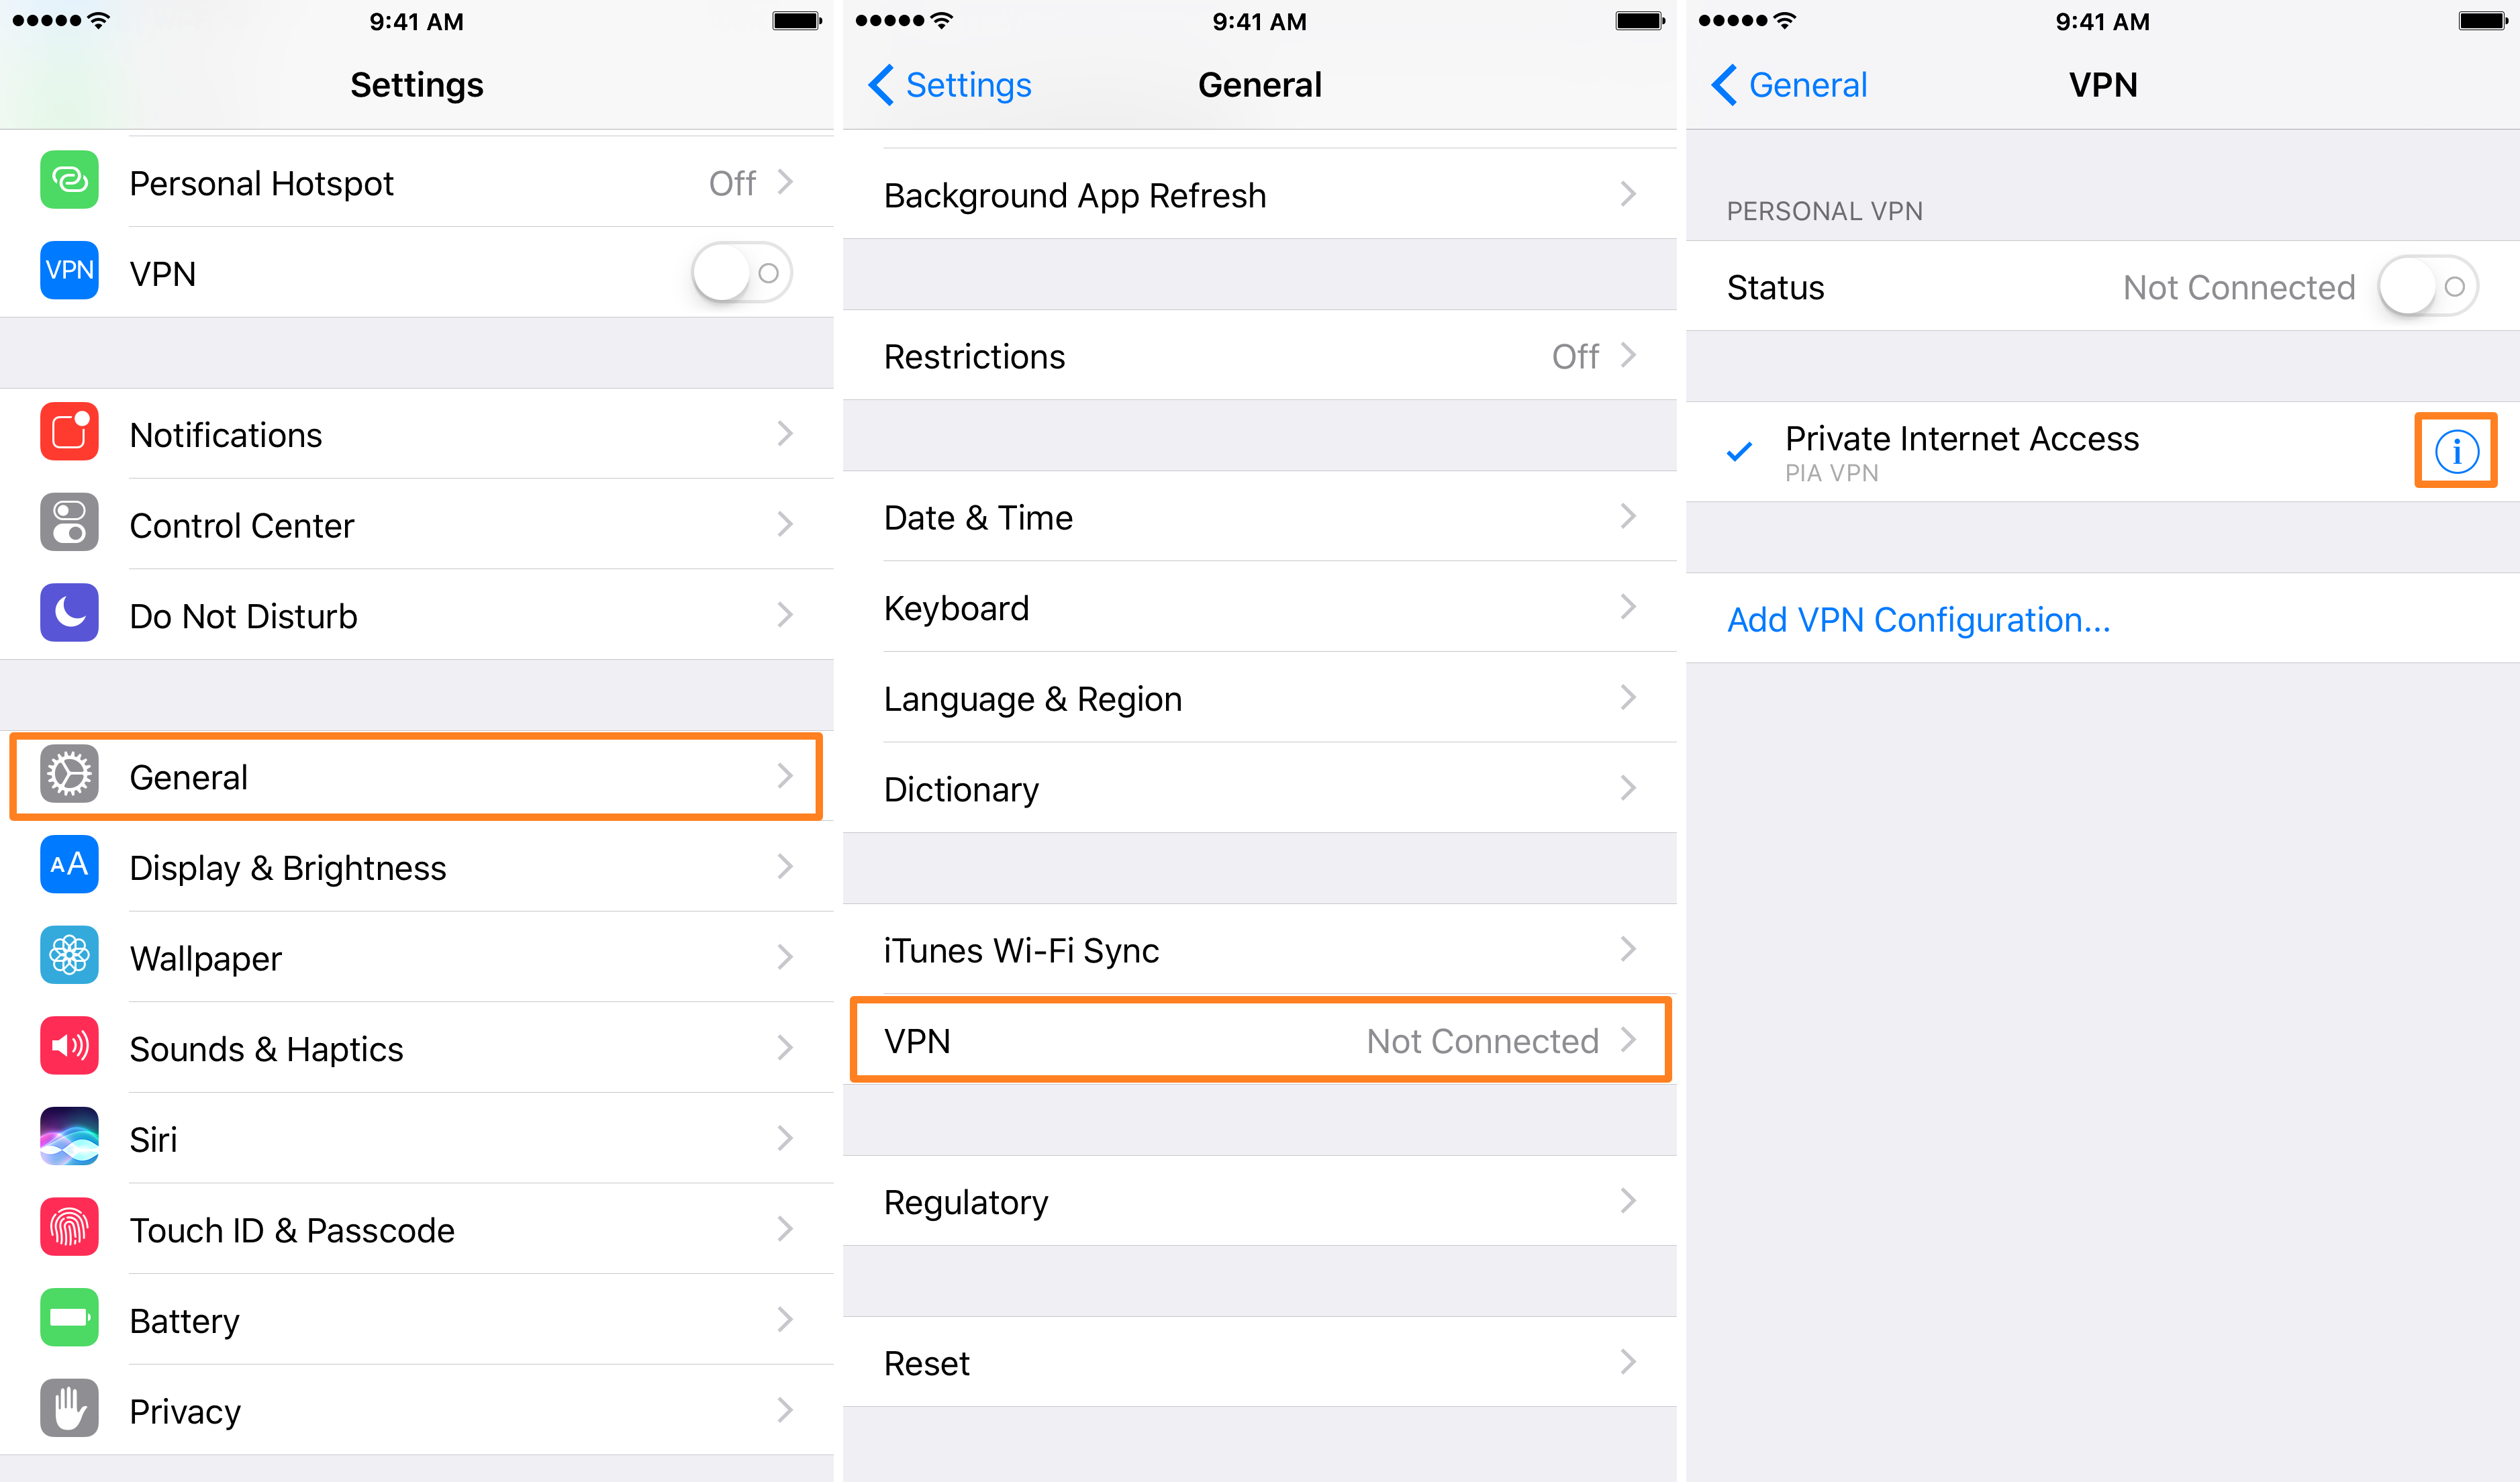
Many people want more privacy online. A VPN helps with that. It stands for Virtual Private Network. A VPN hides your IP address. It also keeps your internet activity safe. This article will show you how to get a VPN on your iPhone. We will keep it simple and clear.
What is a VPN?
A VPN is a special service. It makes your internet connection secure. Here are some key points:
- It protects your personal data.
- It allows you to browse safely.
- It can change your location online.
- It helps you access restricted content.
Why Use a VPN on iPhone?
Using a VPN on your iPhone has many benefits:
- Your data is safe from hackers.
- You can use public Wi-Fi without worry.
- You can access more websites.
- You can keep your browsing private.
Choosing a VPN Service
Choosing a good VPN is important. Here are some tips:
- Look for a trusted name.
- Check if it works on iPhone.
- Read user reviews.
- See if it has good speed.
- Check the price and plans.
Popular VPN Services for iPhone
Here are some popular VPN services:
| VPN Service | Features | Price |
|---|---|---|
| ExpressVPN | Fast, secure, easy to use | $6.67/month |
| NordVPN | Strong security, many servers | $3.71/month |
| Surfshark | Unlimited devices, budget-friendly | $2.49/month |
| CyberGhost | User-friendly, good for streaming | $2.75/month |
Steps to Get VPN on iPhone
Now, let’s see how to get a VPN on your iPhone. Follow these steps:
Step 1: Choose A Vpn Service
Pick one of the VPN services listed above. Go to their website. Sign up for an account. Choose a plan that fits you.
Step 2: Download The Vpn App
After signing up, download the app. Here’s how:
- Open the App Store on your iPhone.
- Search for the VPN service you chose.
- Tap on “Get” to download the app.
Step 3: Install The App
Once the app downloads, install it. Tap on the app icon. Follow the instructions to set it up. You may need to log in with your account.
Step 4: Connect To The Vpn
After you log in, it’s time to connect:
- Open the VPN app.
- Tap the “Connect” button.
- Choose a server location if needed.
- Wait until it shows “Connected.”
Step 5: Verify Your Connection
Once connected, check your IP address. You can use a website like “What Is My IP Address.” It should show the VPN server’s location. This means you are protected.
Troubleshooting Common VPN Issues
Sometimes, you may face problems. Here are some common issues and how to fix them:
Vpn Won’t Connect
If your VPN does not connect, try these steps:
- Check your internet connection.
- Restart the VPN app.
- Try a different server.
- Reinstall the app if needed.
Slow Internet Speed
If your internet is slow, do this:
- Connect to a closer server.
- Check if your internet is working without the VPN.
- Try switching VPN protocols in the app settings.
Can’t Access Certain Websites
If you cannot access a website, consider these tips:
- Change your server location.
- Clear your browser cache.
- Try a different browser.
VPN Safety Tips
Using a VPN is great, but remember these safety tips:
- Use a trusted VPN service.
- Do not share your VPN login.
- Always connect to the VPN before browsing.
- Keep your VPN app updated.


Frequently Asked Questions
How Do I Get A Vpn On My Iphone?
You can get a VPN by downloading a VPN app from the App Store.
Is A Vpn Necessary For Iphone Users?
A VPN helps protect your privacy and secure your internet connection.
Can I Use A Free Vpn On My Iphone?
Yes, there are free VPN options, but they may have limits.
How Do I Choose The Best Vpn For Iphone?
Look for speed, security features, and user-friendly apps.
Conclusion
Getting a VPN on your iPhone is easy. It helps protect your privacy. Follow the steps above to set it up. Choose a good VPN service and enjoy safe browsing. With the right VPN, you can use the internet with confidence.
Now you know how to get a VPN on your iPhone. Enjoy a safer and more private internet experience!
