Many people want to keep their online activities private. A VPN helps with this. VPN stands for Virtual Private Network. It makes your internet connection more secure. This guide shows you how to get a VPN on your iPhone. Follow these easy steps.
What is a VPN?
A VPN is like a secret tunnel for your internet. It protects your information. When you use a VPN, your data is safe. This helps keep your online activities private. It also lets you access content that may be blocked.
Why Use a VPN on iPhone?
There are many reasons to use a VPN on your iPhone:
- Protect your personal information.
- Secure your connection on public Wi-Fi.
- Bypass geographic restrictions.
- Enjoy streaming services safely.
How to Choose a VPN
Choosing the right VPN can be tough. Here are a few tips:
- Look for good reviews.
- Check for strong security features.
- Make sure it works on iPhone.
- See if there is a free trial.

Step-by-Step Guide to Get a VPN on iPhone
Now, let’s go through the steps to get a VPN on your iPhone. Follow along carefully:
Step 1: Pick A Vpn Service
First, you need to choose a VPN service. Some popular options are:
- ExpressVPN
- NordVPN
- CyberGhost
- Surfshark
Visit their website. Check their features and prices. Choose one that fits your needs.
Step 2: Sign Up For The Vpn
After picking a VPN, you need to sign up. Click on “Sign Up” or “Get Started.” Fill in your email and create a password. You may need to choose a plan. Some plans are monthly. Others are yearly. Select the one you like.
Step 3: Download The Vpn App
Now, you need to download the app. Go to the App Store. Search for the name of your VPN. Click on “Get” to download it. Wait for the app to install on your iPhone.
Step 4: Open The Vpn App
Once the app is installed, open it. You will see a login screen. Enter your email and password. Click on “Login.”
Step 5: Set Up The Vpn
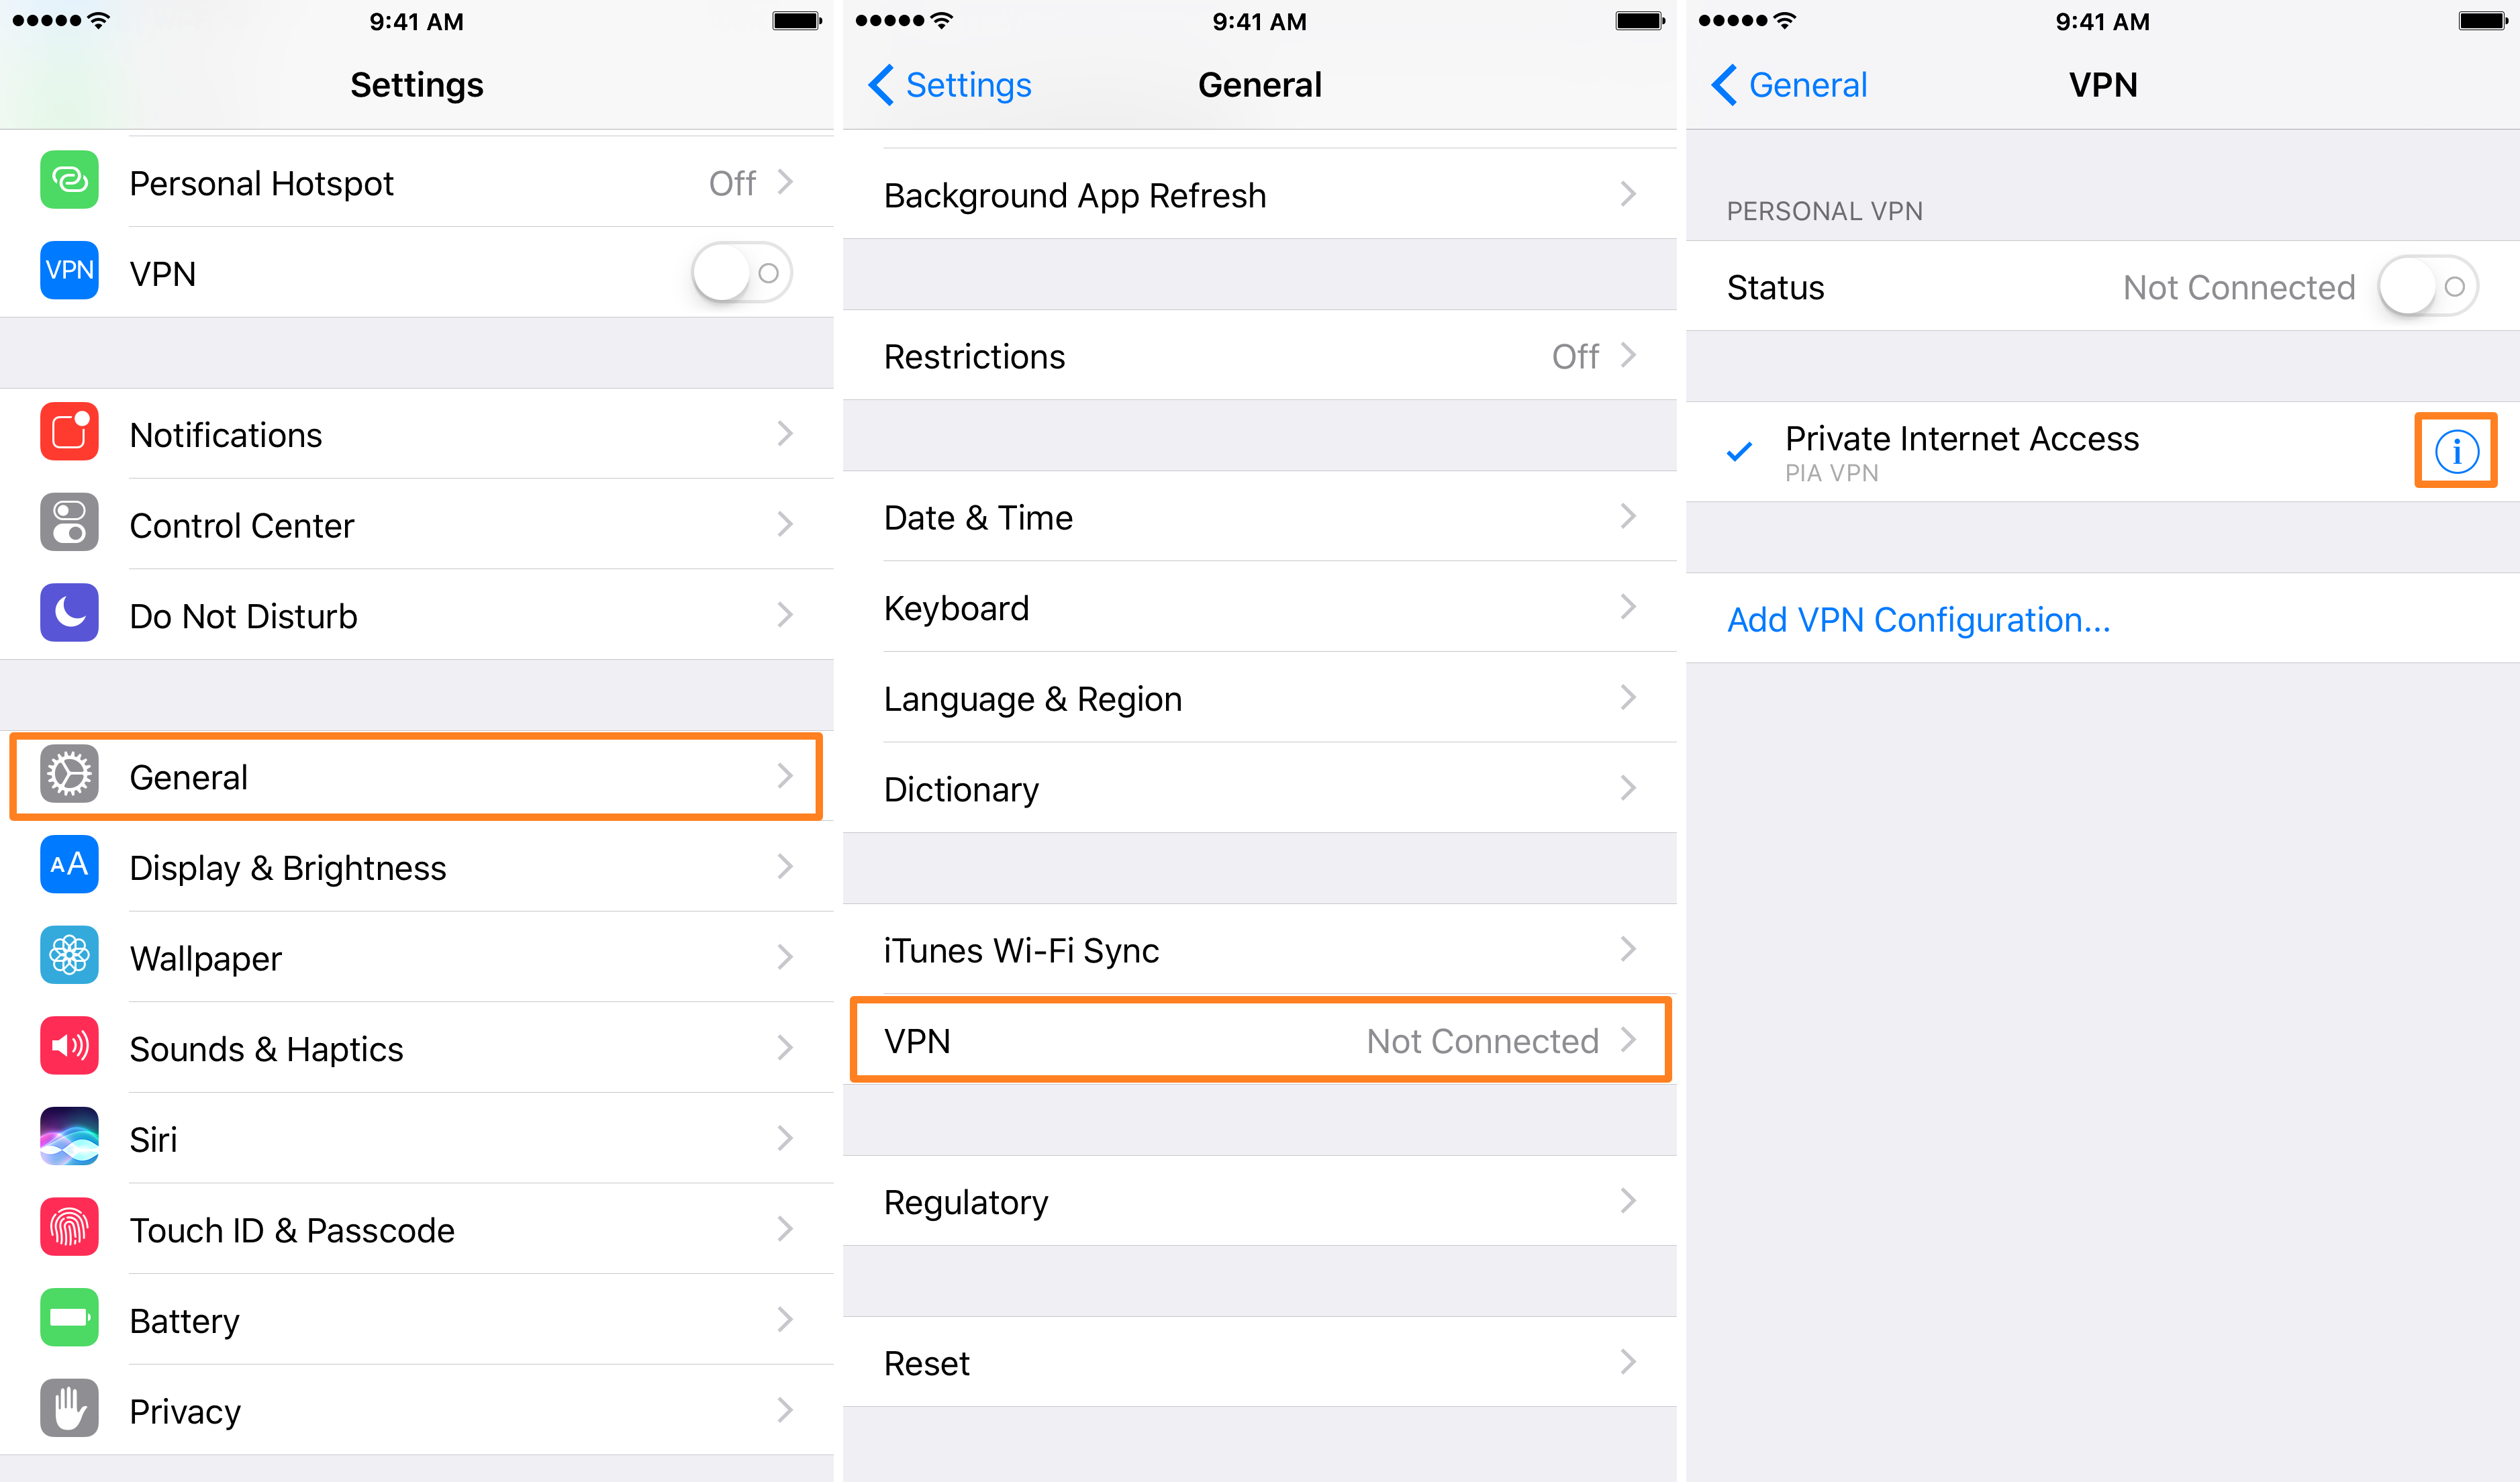
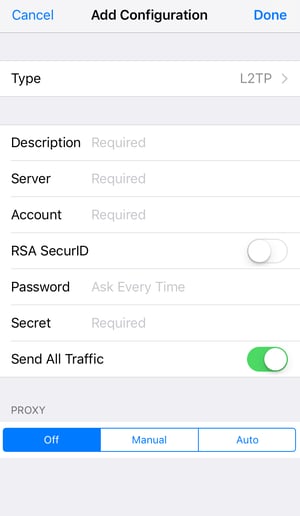
After logging in, you may need to allow permissions. The app will ask to add VPN configurations. Click “Allow.” This step helps the app work correctly.
Step 6: Choose A Server
Next, you need to choose a server. The VPN app will show a list of servers. Select a server from the list. Usually, you can pick servers from different countries. Choose one that works for you.
Step 7: Connect To The Vpn
Now, it’s time to connect. Find the “Connect” button. Click on it. The app will connect you to the VPN. You will see a VPN icon on your iPhone’s status bar. This means you are connected.
Step 8: Enjoy Safe Browsing
You are now using a VPN. Enjoy browsing the internet safely. Remember, your connection is secure. Your online activities are private.
Troubleshooting Common Issues
Sometimes, you might face problems. Here are some common issues and solutions:
Issue 1: Unable To Connect
If you cannot connect, try these tips:
- Check your internet connection.
- Restart the VPN app.
- Try a different server.
Issue 2: Slow Internet Speed
Sometimes, a VPN can slow down your internet. To fix this:
- Try a different server.
- Disconnect and reconnect the VPN.
Issue 3: Vpn Not Working On Apps
If the VPN does not work on some apps:
- Check the app settings.
- Make sure the VPN is on.

Best Practices for Using a VPN
Here are some best practices to keep in mind:
- Always connect to the VPN before browsing.
- Check for updates on the VPN app.
- Use strong passwords for your accounts.
Frequently Asked Questions
How Do I Install A Vpn On My Iphone?
To install a VPN on your iPhone, go to the App Store, search for a VPN app, and download it. Follow the setup instructions in the app.
Is Using A Vpn On Iphone Safe?
Yes, using a VPN on your iPhone is generally safe. It encrypts your internet connection and helps protect your data.
Can I Use A Free Vpn On My Iphone?
You can use a free VPN on your iPhone, but it may have limitations like slower speed or ads.
What Is The Best Vpn For Iphone?
The best VPN for iPhone varies by need. Popular options include NordVPN, ExpressVPN, and Surfshark.
Conclusion
Getting a VPN on your iPhone is simple. Follow the steps above. Remember to choose a reliable VPN service. This will keep your information safe. Enjoy browsing the internet with peace of mind. Stay secure while online!
