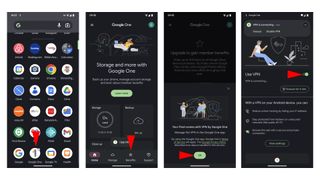
If you want to keep your online data safe, using a VPN is a good idea. A VPN, or Virtual Private Network, helps protect your internet connection. This guide shows you how to turn on VPN on your Pixel 7 Pro. It is easy to follow and understand. Let’s get started!
What is a VPN?
A VPN is a service that creates a secure connection. It helps you browse the internet safely. Here are some benefits of using a VPN:
- Protects your personal information
- Keeps your data safe from hackers
- Lets you access content from other regions
- Helps you stay anonymous online

Why Use a VPN on Pixel 7 Pro?
The Pixel 7 Pro is a powerful smartphone. Using a VPN on it offers many advantages:
- Secure your Wi-Fi connection
- Browse websites without restrictions
- Keep your online activities private
- Use public Wi-Fi safely

How to Set Up VPN on Pixel 7 Pro
Setting up a VPN on your Pixel 7 Pro is simple. Follow these steps:
Step 1: Choose A Vpn Service
First, you need to select a VPN service. There are many options available. Some popular VPN services include:
- NordVPN
- ExpressVPN
- CyberGhost
- Surfshark
Choose one that fits your needs. Most services have a monthly fee. Some may offer free trials.
Step 2: Download The Vpn App
After choosing a VPN service, download its app. Here’s how:
- Open the Google Play Store on your Pixel 7 Pro.
- Type the name of your VPN service in the search bar.
- Find the correct app and tap “Install.”
Step 3: Open The Vpn App
Once the app is installed, open it. You will see options to log in or create an account. If you already have an account, log in. If not, create a new account by following the on-screen instructions.
Step 4: Configure Vpn Settings
After logging in, you may need to set up some settings. Most apps will guide you through this process. You might need to:
- Choose a server location
- Allow the app to create a VPN connection
Follow the prompts carefully. This will ensure your VPN works correctly.
Step 5: Connect To The Vpn
Now, it is time to connect. Look for a button that says “Connect” or “Start.” This button is usually on the main screen of the app. Tap it to connect to the VPN.
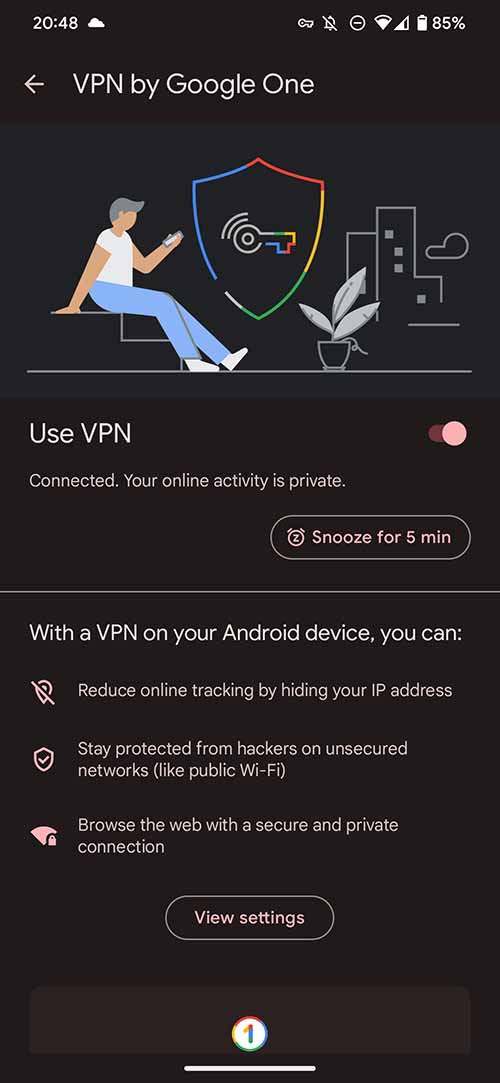
Once connected, you will see a key icon in the status bar. This means your connection is secure.
Step 6: Test Your Vpn Connection
It’s important to check if your VPN is working. You can do this by visiting a website. Here’s how:
- Open your web browser.
- Go to a website that shows your IP address. Examples are “whatismyip.com” or “iplocation.net.”
If your IP address is different from your original one, your VPN is working! If it is the same, check your VPN settings again.
Troubleshooting Common Issues
Sometimes, you may face issues with your VPN. Here are some common problems and solutions:
Problem: Vpn Won’t Connect
If your VPN does not connect, try these steps:
- Check your internet connection.
- Restart the VPN app.
- Choose a different server location.
Problem: Slow Internet Speed
If your internet speed is slow while using a VPN:
- Try connecting to a different server.
- Disconnect and reconnect to the VPN.
- Check your internet speed without the VPN.
Problem: Cannot Access Certain Websites
Sometimes, some websites may not load. If this happens:
- Try a different server location.
- Clear your browser’s cache and cookies.
- Disable the VPN and check the website.
Using Built-in VPN Features
The Pixel 7 Pro has built-in VPN features. You can use these if you do not want a separate app. Here is how to set it up:
Step 1: Open Settings
Start by opening the Settings app. You can find this in your app drawer.
Step 2: Go To Network & Internet
In the Settings menu, tap on “Network & Internet.” This option is usually near the top of the list.
Step 3: Tap On Vpn
Next, look for the “VPN” option. Tap on it to see available VPN options.
Step 4: Add A Vpn
To add a new VPN, tap “Add VPN.” You will need to fill in the required details:
- Name of the VPN
- Type of VPN (like L2TP, PPTP, etc.)
- Server address
- Your username and password
Step 5: Connect To The Vpn
To connect, tap the VPN you just created. Enter your username and password if needed. Then, tap “Connect.”
Frequently Asked Questions
How Do I Enable Vpn On My Pixel 7 Pro?
Go to Settings, tap on “Network & internet,” then select “VPN. “
What Is A Vpn Used For On Pixel 7 Pro?
A VPN helps protect your online privacy and secures your internet connection.
Can I Use Free Vpn On Pixel 7 Pro?
Yes, there are free VPN apps available, but be cautious about privacy.
Does Pixel 7 Pro Have A Built-in Vpn?
No, the Pixel 7 Pro doesn’t have a built-in VPN. You need to download one.
Conclusion
Using a VPN on your Pixel 7 Pro is easy. Just follow the steps above. Protect your online data and enjoy a safe browsing experience. Remember to choose a reliable VPN service. With a VPN, you can browse the internet with peace of mind.
Now you know how to turn on VPN on your Pixel 7 Pro! Stay safe online and enjoy your browsing.
